|
| The original craft that I used to make |
For my next craft I wanted to take a simpler approach and find a new use for something I already had. Then I saw a bowl made from craft beads, the ones that can be put on little peg boards then ironed for pointless fun. I happened to have a whole bag full of these beads and was never planning on making those other things again. So I got right to work, the only things I used were craft beads, canola oil, and an oven safe bowl.
 |
| The bowl I used to get my shape. |
 |
| The craft beads, also called Perler Beads |
After throughly greasing the bowl I began to set the beads inside my bowl, making sure none of them overlapped. When the bowl was almost filled to the brim all that was left was to put my creation in the oven. I started at 300 degrees for 20 min, sadly after looking into the oven it did not look as any of the beads would ever melt. Deciding more heat was the solution I kicked up the heat to about 400 degrees and in no time the beads were all melted.
Having the patience to wait to take out the bowl was the hardest part, once I had waited for it to cool my new bowl slid out effortlessly and I now had a perfect place to set my keys when I walked into my bedroom. Although I must have washed the bowl about four times because of how greasy it got, all my efforts where worth it.
 |
| Greasing the bowl. |
 |
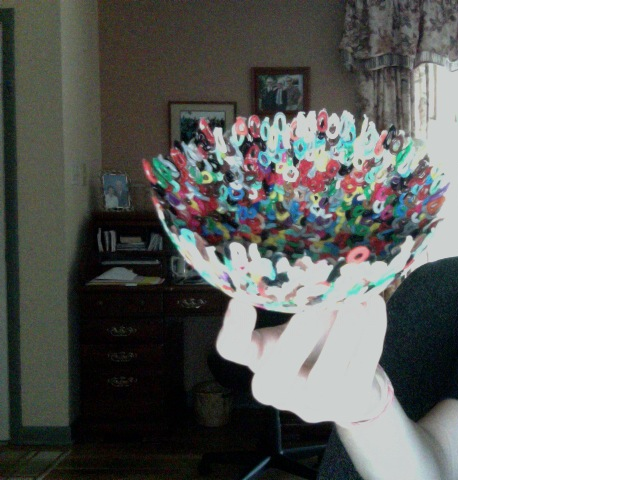
| Finished product. |
 |
| In the oven |